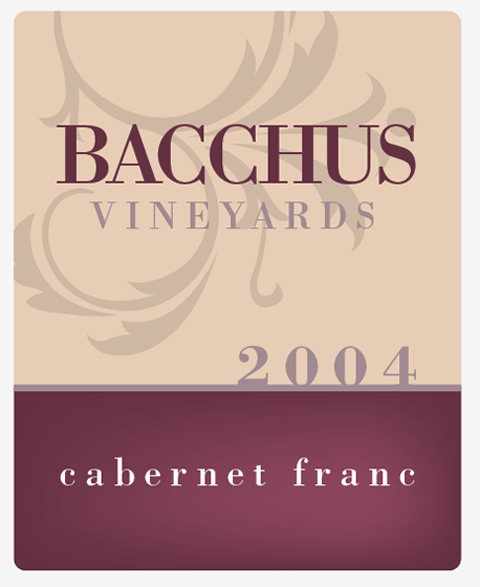
Blank labels for Wine Bottles on US letter size paper are available from WordLabel.com with a permanent acrylic adhesive backing and being printable by every day laser and inkjet printers. Let’s take a look at designing our own Wine Label in Adobe Illustrator.
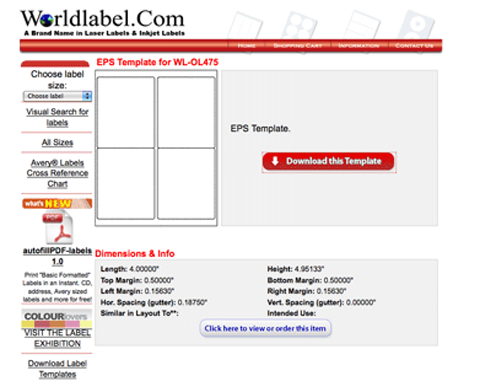
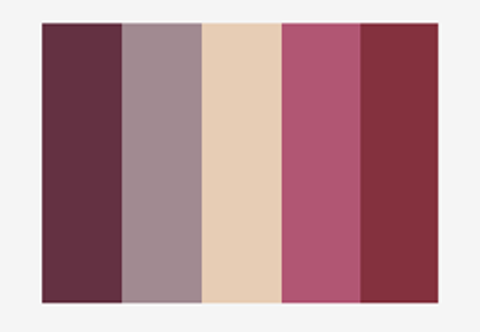
For this project, we’ll be using the WL-OL475 sized label which is perfect for 750ml wine bottles. Download the EPS template and open it up in Adobe Illustrator. The key to any good design is a suitable color scheme. Draw out a group of swatches to base the design around.
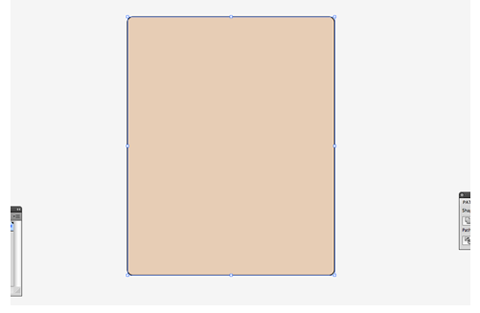
Fill the background of the label using a light beige color.
Copy (CMD+C) and Paste (CMD+F) the background rectangle back into place, then draw a separate shape covering two thirds of the object. With both objects selected use the Pathfinder Subtract from Shape Area option to trim down the rectangle to a thin strip. Add a darker color, along with a subtle highlight using the Gradient Mesh Tool.
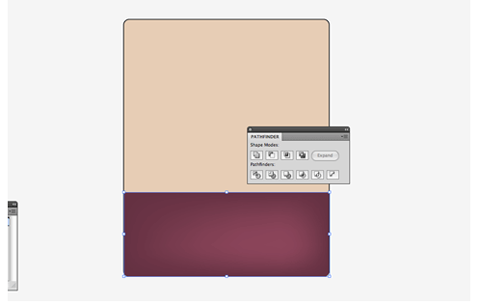
Draw a thin rectangle across the width of the label, align it with the top of the colored strip and give it a slightly lighter fill to act as a border.
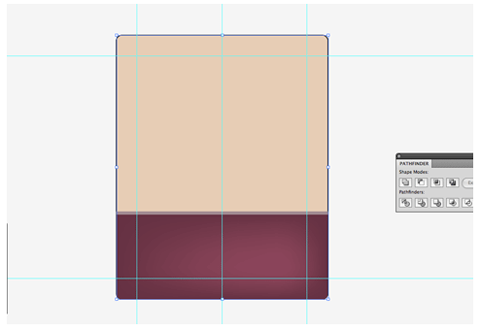
Drag in guides from the edge of the artboard to provide a 10mm margin around the edge of the label. Also draw a guide to highlight the center line.
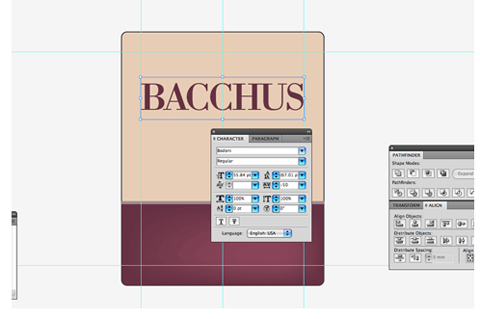
Write out the name of your wine in your chosen font, here I’m using the classic Bodoni typeface to give a sophisticated appearance. Pay attention to the tracking and kerning of the letters to give the perfect layout. Add a fill that compliments the color scheme of the label.
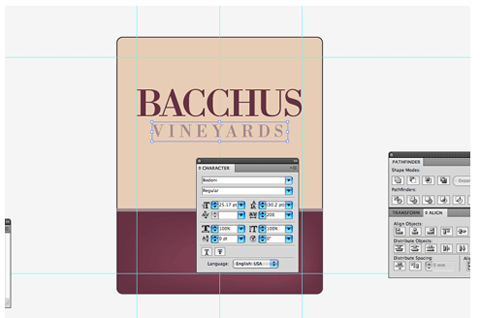
Continue adding the secondary details on to the label, using the same typeface at a smaller size and wider tracking helps balance out the words. Set any secondary text in a lighter color to provide main focus to the important elements.
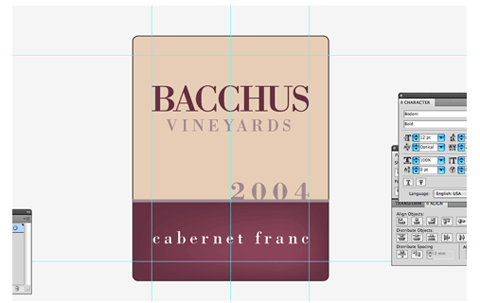
Lay out the text according to the grid lines to provide structure to the label design. A variation in size and weight can provide variation to the typographic elements.
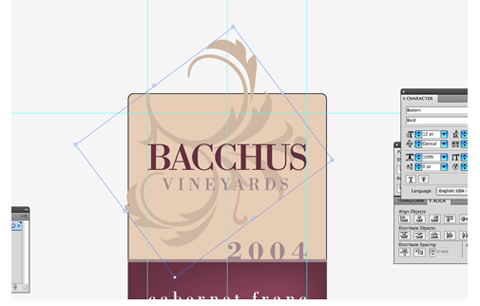
Ornamental swirls tie into the upmarket and sophisticated theme; download a vector resource from a site such as FreeVectors.net and use it on your label. Position the element onto the design so that it flows in from the label edges. Choose a slightly darker shade of the label color so that the ornament sits subtly in the background. Use the shortcuts CMD+[ and CMD+] to adjust the stacking order of the objects.
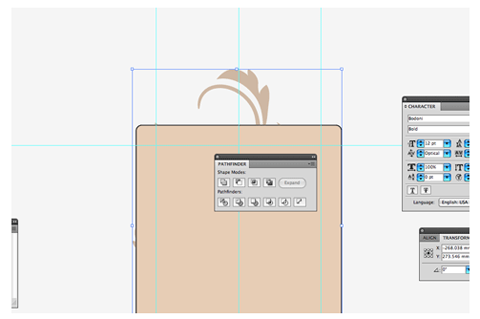
To trim down the overlapping area of the ornament duplicate the background label and position it on top. Select both the rectangle and the ornament and use the Pathfinder to crop down the shape to the outline of the label.
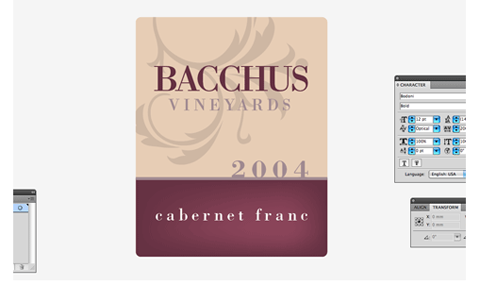
The label design is complete, so select all the elements and Group them together. Select all the text and go to Type > Create Outlines to render the fonts as shapes.
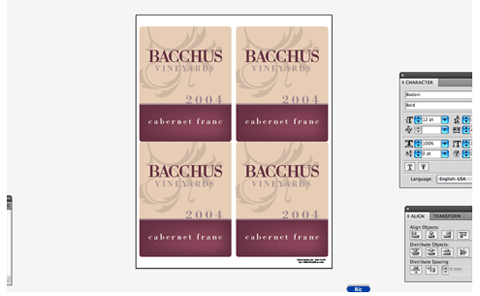
Duplicate the label onto the template and accurately move into position. Save the design as an EPS, PDF or high resolution JPEG, and it’s ready for printing.
by Chris Spooner of spoongraphics.co.uk
![]()
Resources:
Understanding Wine labels
Design your color palettes
Worldlabel.com’s Bottle Labels
Free illustrator alternative Inkscape Wine Library Network

– Nice tut and resources –
Great blog on labels. I am new to labeling and have recently started doing my own aclabels Glad to find a great post on labels, am doing a bit of research to help me out.
Thanks again