Category Archives: How-To

View all posts listed under How-To.

Adding Graphics to Labels Using Libreoffice

Adding Graphics to Your Labels

When people think of labels, the first thing that comes to mind is lines of text like addresses or tab markers. But these are just the simplest uses for labels. Photos, greeting cards, business cards, inserts for CD jewel cases — all of these can be created with a color printer and a package of labels. And with thermal transfer technologies, the possibilities expand to include everything from printed T-shirts to buttons for political campaigns and causes. All of these and more can be created using LibreOffice to create your own graphics.

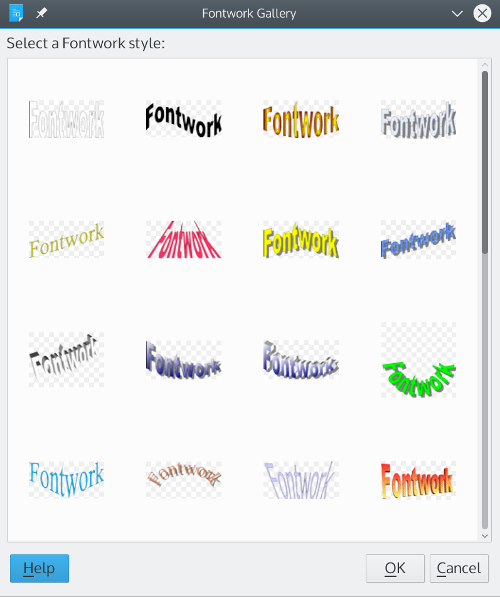
LibreOffice is a complete office suite that is free for the download on Linux, MacOS, and Windows. You can create designs to add to any label in LibreOffice Draw application. You can edit images in LibreOffice’s Draw application, or create your own using Draw’s “primitives” — basic shapes ranging from circles and squares to stars and crosses. Another useful tool is Insert| Fontworks, in which you can arrange text in creative ways, substituting your letters for those in the templates:
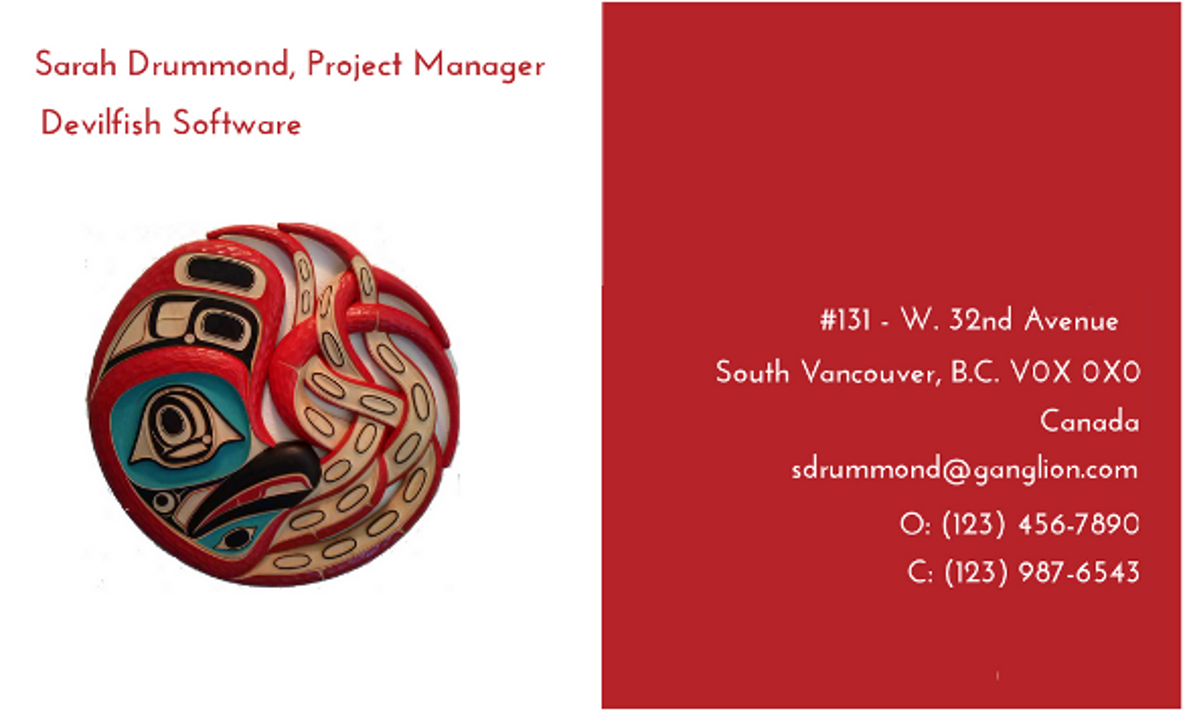
A painless way to learn how to design your images is Robin William’s The Non-Designer’s Design Book. Williams (No, not that one) suggests keeping in mind four basic principles for arranging different aspects of your design: alignment, contrast, proximity, and repetition. More than one of these principles can be used at the same time. For example, in the business card below, the lines with contact information are all right aligned, while the company logo and the contact information have contrasting backgrounds:
If your design skills are not up to the task, you can download royalty free images and free fonts from hundreds of Internet sites. Another useful tool to download are dingbat fonts — fonts in which typing a character prints an image instead of a letter or symbol. For example, here is a small image created with a dingbat that consists of whimsical, nursery rhyme characters use with Fontworks:
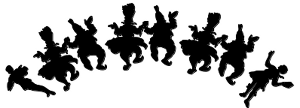


When you design the images for labels, keep in mind the size of the labels. While it is easier to design at a much larger size than the label itself will use, if you have to shrink down an image, it is going to lose much of the detail. In addition, too much color could reduce the image to a few blobs of color. You should always experiment, but when working with smaller labels, think in terms of simple designs and a few bold colors.

Similarly, remember the background on which the image will be displayed — either its own, or the color of the label. The basic rule for legibility is light colors on a dark background, and dark colors on a background. Most of the time, a background of many different colors will be confusing.


Preparing the Label Sheet

In LibreOffice, a label sheet is created by producing a file for the Writer application with outlines that are equal to the dimension of the label. If your label is a thermal transfer or an unusual size, you will need to measure the size of the label carefully, and then select File | New | Writer Document. Set the page to the same size as the label sheet using Insert | Page. Then add Insert | Frame | Frame and set the frame so that it is the same size as your label(s), and positioned in the same way on the page.

With any luck, LibreOffice may support the manufacturer and type of label you are using. To check, To start preparing labels, start LibreOffice’s Writer word processor and select File | New | Labels. From this window, you can select the label type and how it is fed into your printer. You can also enter any text for your labels, either manual in the empty pane provided, or else from a database (check the online help for how to create and connect to a database.) You do not need to add text, and images will have to be added later, when the label sheet is prepared.
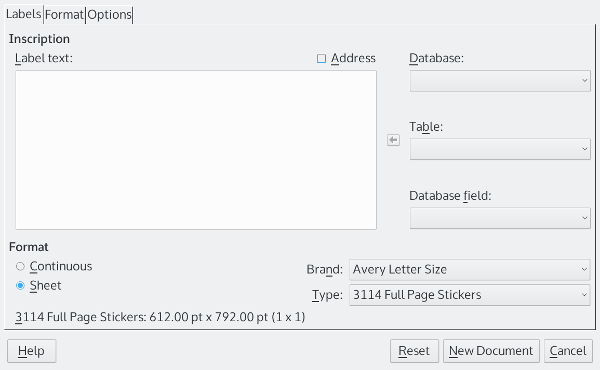
 

If your label sheet is not supported, you can set Writer to use it on the Options page, where you can enter the size of each label (if each page has more than one) and the spaces between the labels. You can also create a custom label sheet manually from an empty Writer document by measuring the label sheet and by using Insert | Frame | Frame and setting frames so that each the same size as your label(s), and positioned in the same way on the page. Probably, too, you will want to select the frame and right-click on it to make the borders of each frame invisible when you print.

The last step in preparing the label is to select Synchronize contents on the window’s Option tag. This feature sets the resulting file you create so that all changes to the first label on a page can be duplicated on the other labels with a single click.

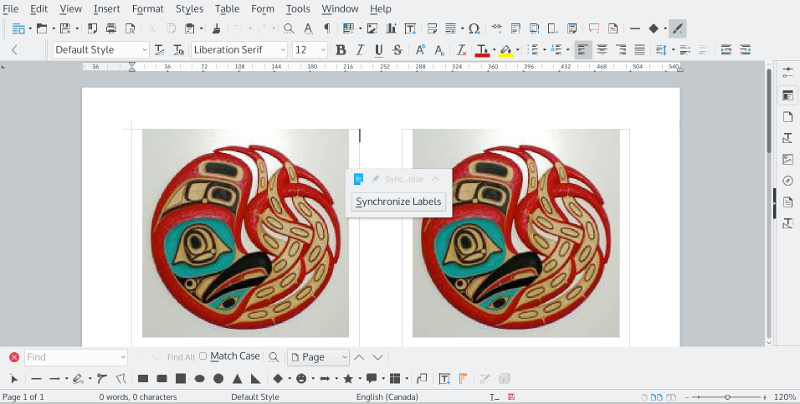
When you are ready, click the New Document button. Writer will open a new file, showing frames for each label on the sheet and a floating Synchronize Contents button. This button is especially useful for adding images.
 

Adding Images to Your Labels

If your label is big enough, you can create your image using the Draw toolbar in the file created for printing by LibreOffice. Even then, though, you may find using Draw easier.

If you are using Draw, your last step should be to select all the separate elements by running the mouse cursor around all of them so that their frames and selective points show. By selecting Shape | Group, you can move and resize all the elements as if they were only one.

Then click on the grouped elements and select Position and Size from the right-click menu to reduce the size of the image so that it fits on the label. This step is necessary because if the image is too large for the label, adjusting it can be difficult. When you are ready, you copy and paste the image to the first label on the page. Clicking Synchronize Contents will replicate the first label on all the other labels. You are then ready to print.

A Matter of Practice

Adding images to a label may seem awkward at first, but it is really a matter of practice. After a few tries, you will start to see that LibreOffice’s tools are actually designed to save you effort and frustration. Once you are comfortable with the steps, you will find that, when you go beyond text, labels actually have more possibilities than you originally suspected.

By Bruce Byfield, author of Designing with LibreOffice.org – visit and download the book here

Preparing Labels With Libreoffice Video By Bruce Byfield

How to Prepare Labels with Libreoffice.org by Bruce Byfield.

This tutorial covers using templates, how to import images and use text, in-depth instructions on using mailmerge and more.

For more reading on using labels with Libreoffice:

Creating fancy labels with Libreoffice

Mail merge address labels with Libreoffice

Working with Barcode with Libreoffice/Openoffice

Have more questions about using labels, feel free to visit the forums and engage the community in helping you

Choosing line alignment in LibreOffice

LibreOffice_

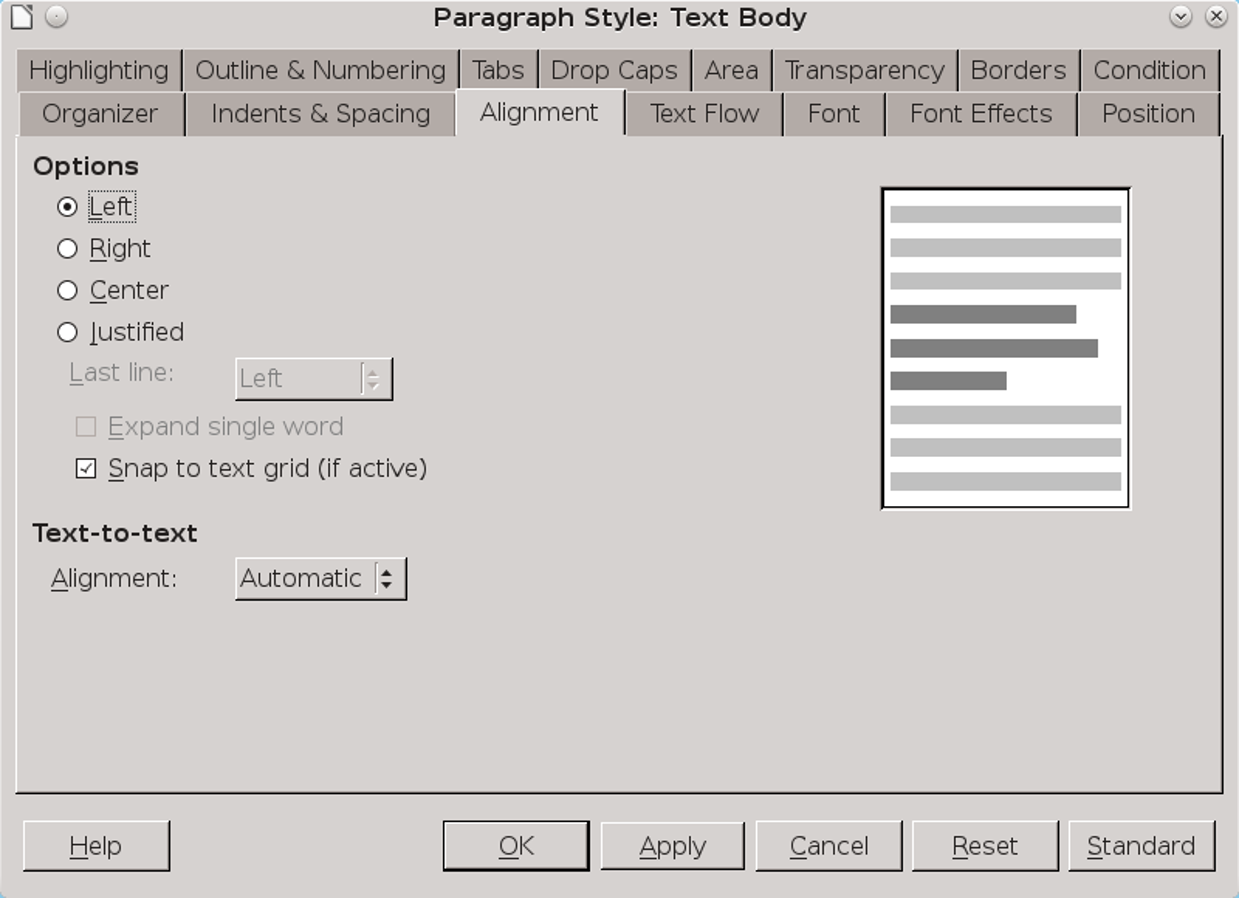
The Alignment tab of a LibreOffice paragraph style has four ways of positioning text on a line: Left, Right, Centered, and Justified. In practice, however, Right is used mostly for highly-formatted documents such as brochures, while Centered is mostly reserved for titles and sub-titles. For body text, the choices are usually Justified, in which the left and right sides of the text column align with both the left and right margins, and Left or “ragged right,” in which only the left side of the text column aligns consistently with a margin. Asked to choose between Justified and Left alignments, most users will choose Justified — but the choice is not as simple as you might think.

alignment-tab

Continue reading

Soap It Up Right! Tutorial from Rebecca’s Soap Delicatessen

soapmaking-download-worldlabel

Making Cold Process Soap for the First Time? How to make soap & beginner soap recipes to get you started!

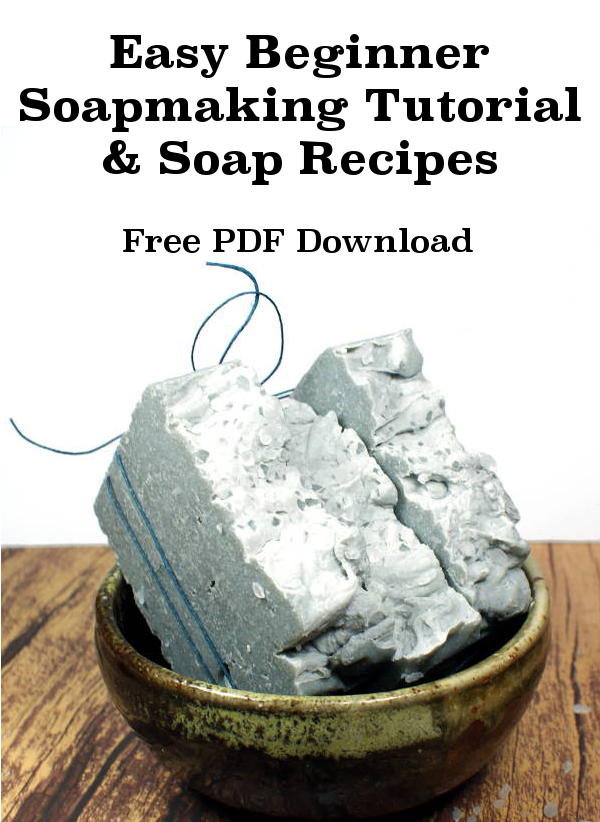
The Beginners Soapmaking Instructions and Recipes Revised, a free ePDF booklet by Rebecca D. Dillon

How many times have you stopped at a soap table at a farmers’ market or at a trade show and thought to yourself, “I could do that!” But, when you returned home and looked up the processes, the amount of time involved, and the mysterious lingo, you talked yourself out of this project. No way, you figure, can you make the effort to learn all about making soap without a master’s degree in chemistry at the very least.

Although the soap-making business seems pretty straightforward, according to the article that Marla Bosworth wrote for us, it’s the actual soap making process that has you worried.

soap making recipesThanks to Rebecca D. Dillon of Rebecca’s Soap Delicatessen , you can learn how to make soap step-by-step. Plus, Rebecca remembers her own fears and uneasiness when she first started making soaps. She shares how she overcame those barriers to own her own soap business in this tutorial. And, she teaches you how to decipher and handle all the mysterious chemicals that go into making a bar of soap. Rebecca writes:

“The scariest thing for me when I first started making soap was working with lye. Lye – also known as sodium hydroxide – is a necessary part of making homemade soaps. Without lye, there simply is no soap…Yes, lye is a little scary. However, once I finally dove in and made cold process soaps for the first time, I realized that it wasn’t nearly as terrifying as I thought it would be. I’ve found that tutorials on soapmaking tend to have you be overly cautious about working with lye so it seems frightening. The truth of the matter is however, it isn’t frightening as long as you have sound knowledge of what you’re doing going in, and you take simply safety precautions – just like in high school chemistry class. So purchase some goggles, some gloves and for kicks you can also go with a fancy new rockabilly apron just so you have some great photos to share on your social media.”

So there you have it…you must work with lye. But what about fat percentages, oils, butters…and how much essential oil should you use for each batch of soap?

Rebecca answers all those questions as well, and also provides information on how to create your own soap recipes. If that thought scares you as well, she offers some of her own soap recipes for starters.

Rebecca doesn’t act like the “be-all and end-all” for soap making. In fact, she encourages readers to watch YouTube videos or to enlist the help of a soap-making friend to learn more information. After all, some of us learn by watching, not by reading.

With that said, Rebecca’s tutorial is one of the easiest and most down-to-earth documents I’ve ever read about soap making. In fact, she’s encouraged me to actually give it a shot…and, she’s included some great advice and images on creating my own soap labels. Creating packaging for home-made soap is relatively painless. Worldlabel also offers help with their blank printable soap-making labels for laser and inkjet printers. Plus, they offer collections of soap labels that you can modify and use as your own.

Please find the complete 37-page PDF booklet bellow. It contains a basic cold process soapmaking tutorial, information on using a lye calculator, a detailed description for creating your own recipes, eight beginner soap recipes, a tutorial on creating your own custom soap labels, and resources and references that link to online suppliers.

DOWNLOAD THE BEGINENERS SOAPMAKING INSTRUCTIONS AND RECIPES REVISED PDF EBOOK

Easy Labels in the iCloud with Pages

icon175x175

With the addition of iWork for iCloud, Apple has made it possible to use pre-made label templates with the web-based word processor. This process is relatively straightforward, so you’ll be printing labels from the cloud in no time.

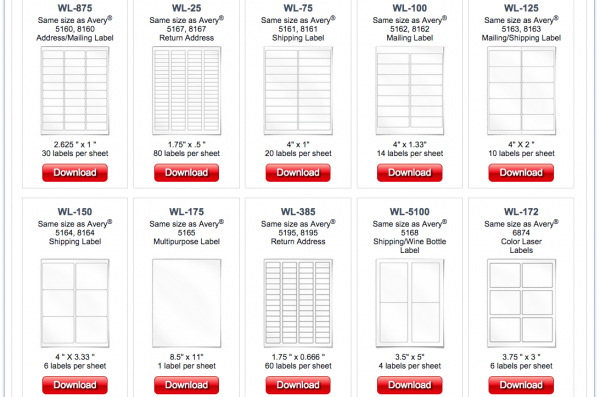
Before starting, make sure to download a free label template that fits your needs. Any template will work, but we highly recommend WorldLabel’s selection of free Pages labels. There is a ton available for download, including standard Avery labels, CD labels, and others.

label templates for mac

Continue reading

Making Barcodes with Free Software & Inkscape

barcode

Barcodes provide a very simple, reliable, machine-readable way to read numbers or addresses into your computer so that information can be looked up online or in a database. There are a number of different standards for barcodes, and the most-commonly used ones are quite easy to use and create with simple free software applications, whether you want to incorporate them directly in your cover art, or make stick-on labels for marking packages. Here, I’ll walk you throught the basics of three popular types of barcodes: UPC, EAN (including ISBN), and QR codes.

Producing the barcode itself is trivial in Inkscape — the leading Free/Open Source Software vector drawing application — ever since the extension became part of the standard distribution, with version 0.46. The current version supports several kinds of barcodes, including the UPC and EAN types. To continue reading the complete howto, visit: http://www.labelsontime.com/barcodes-and-free-sofware

Design a Trendy Business Card in Inkscape.org

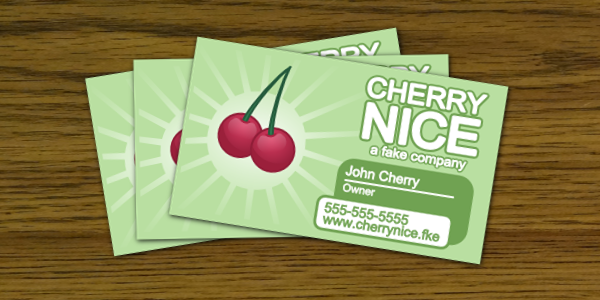
In this tutorial, we’ll be making some very neat business cards using Inkscape. We’ll be starting from a template to keep sizing completely accurate – which also means you can actually print them!

bcard-40

By Aaron Nieze from Shmoggo.com

Setup the Document

Step 1

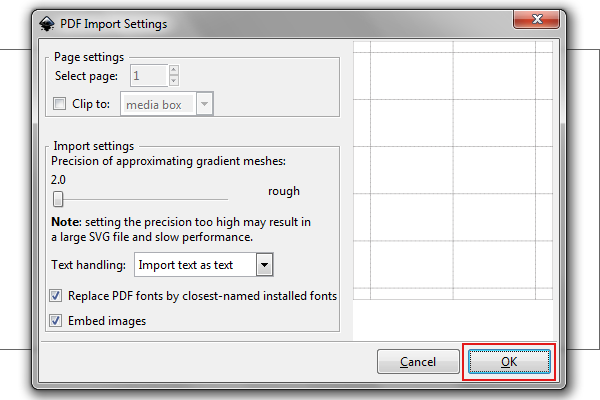
Since we’ll be starting from a template, go to Worldlabel.com and download their business card template WL-244 in PDF. Once that’s downloaded, you can actually open that file straight from Inkscape. It’s a PDF file, so it’ll open up the PDF Import window. The standard settings should be just fine, so just click OK whenever you’re ready.
bcard-1


Continue reading

Address Labels in Microsoft Word – a Graphic Howto

Labels in Word

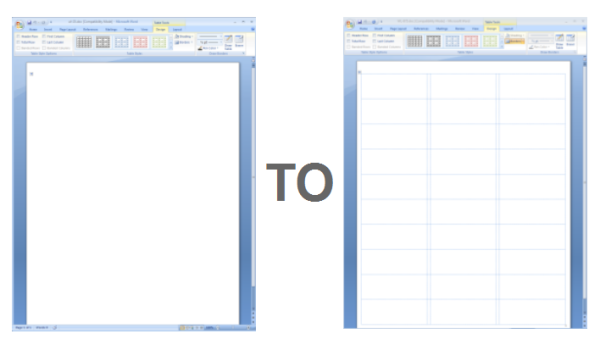
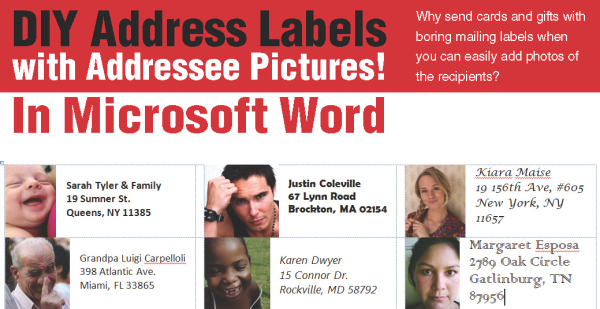
DIY Address labels in Microsoft Word is a PICTORIAL (a graphic howto) created by Pariah Burke of iamPariah.com The pictorial goes into detail about where to find templates in MS Word, how to use the label templates, inserting images and much more. Read the complete Graphic Howto on our Pinterest Board or download the PDF here.

Our first of many Pictorials to come 🙂

When your mind is a Blank Label

Blank Labels

Blank Labels

Are you having a problem thinking how you will design your next label.  Are you keep coming up blank. Do you feel stymied when it comes to using labels? Do you think labels are dull? Do you have piles of blank labels gathering dust in that bottom drawer? Have you looked all over the net for label design ideas and not sure what is right? You’re in the right place, then. We’re here to help you overcome your “labelphobia” so that you can realize your organizational and productive potential. Labels can simplify your life if you know how and when to use them and find great design for your needs. They also can make your life more colorful and exciting!

So, we welcome you to Worldlabel.com  a company that makes Blank Labels for laser and inkjet printeres and has a great blog full of free label printables to print on those blank labels. Our company has been in business for a decade, and we offer labels, label designs and design ideas to people the world over. Now, we want to expand on our services to provide users with even more resources. No matter whether you’re a work-at-home mom, a CEO, an artist or a non-creative type – we’re here to help you make the most of your talents and time with our ideas, tips, tricks, hacks and more.

Continue reading