Despite the digital wave that’s taking over everyday life, the good old business card is still a highly useful tool for any professional. Follow this walkthrough to produce your own modern and stylish business card in Adobe Illustrator, and mock up the design onto the business card template ready for production with Worldlabel.com

Begin by launching Adobe Illustrator and creating a new document, enter the dimensions of 3.5inches by 2inches – the standard size for the business cards at Worldlabel.com. This is a job for print, so choose the CMYK color mode.

With the Rectangle Tool, single click on the artboard to bring up the options box, enter 3.5inches by 2inches to create a background rectangle the exact size of the card.
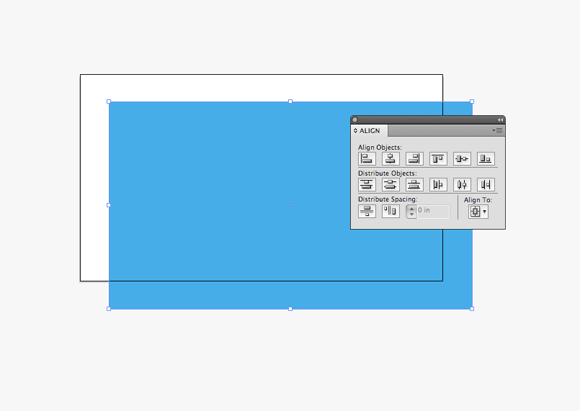
Fill the rectangle with your chosen colour, here I’m using Cyan (100c, 0m, 0y, 0k), then align the rectangle centrally to the artboard using the Align Palette.
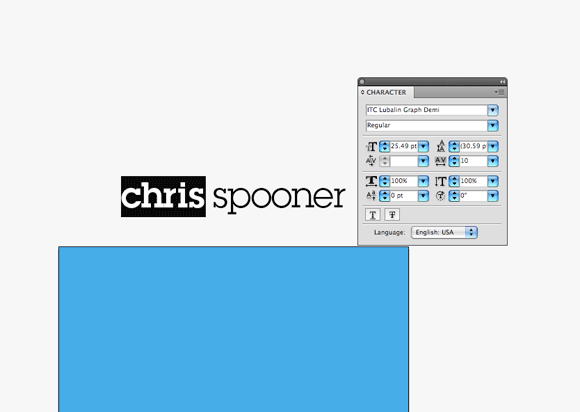
With the Type Tool, begin writing out your name and set in a font of your preference. Here I’m using the classic; Lubalin Graph in two weights to add an element of style to the design. Pay close attention to the tracking and kerning of the words to perfect their appearance.
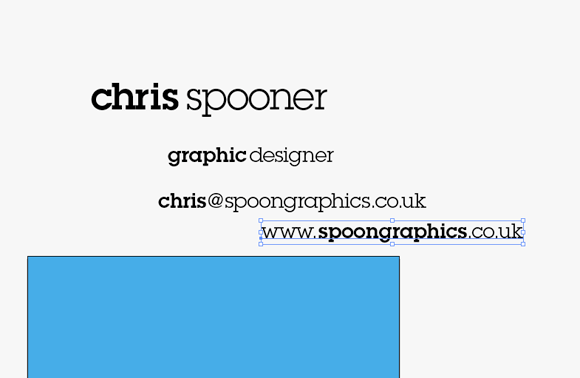
Continue typing out the elements which will be shown on the business card such as job title, contact details and website URL.
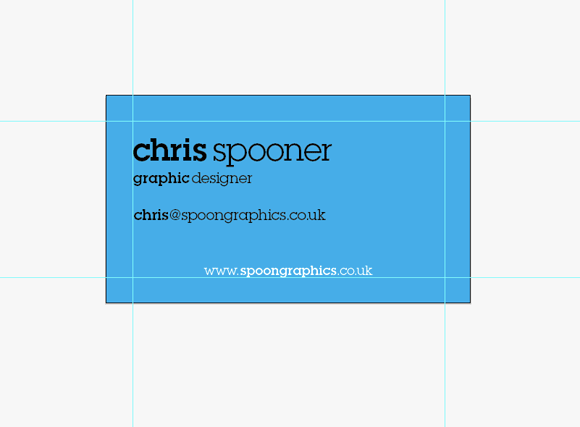
Draw in four guides onto the artboard 0.25inches into the document, this helps balance the design elements. Arrange the type onto the design, using variations in size to provide a visual hierarchy that gives focus to the important aspects of the design.
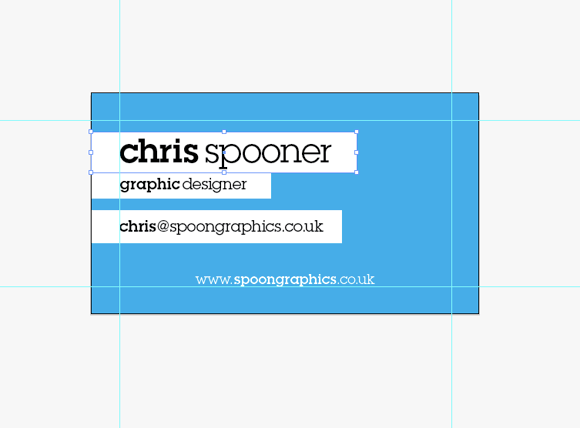
Draw a range of white rectangles onto the design, which act as background strips to the text.
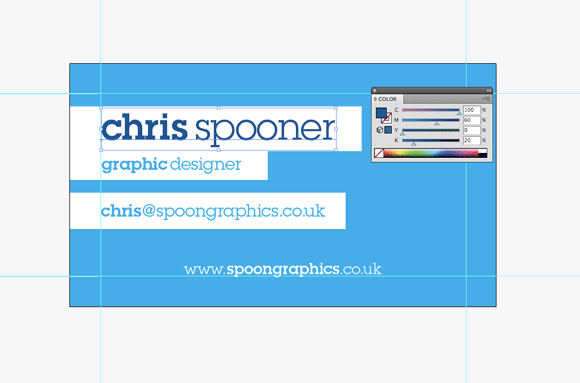
Change the colour of the text elements to blend in with the colour scheme of the design. I’ve used Cyan on the smaller elements and a darker blue (100c, 60m, 0y, 20k) on the name.
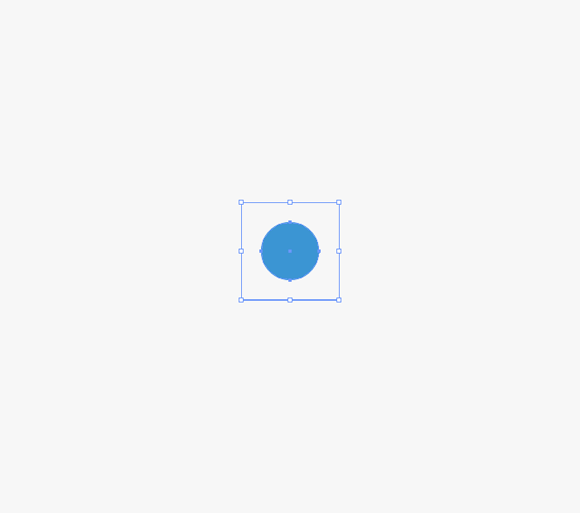
Let’s add a retro-esque background pattern to the business card design. Draw a square and a circle on the artboard, making the square slightly larger with no fill, while the circle has a blue colouring. Select both elements together and drag them into the Swatches palette.
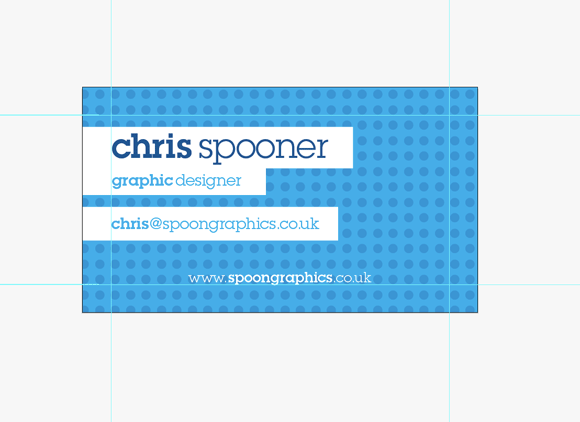
Duplicate the background rectangle and fill the copy with the new pattern swatch, the circle will repeat to fill the background with a cool dotted pattern which helps add visual interest to the design.
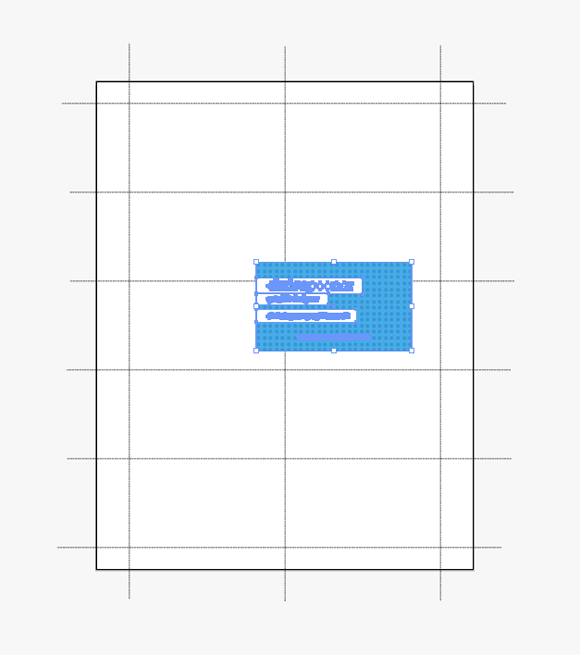
With the design complete, go ahead and download the business card template from Wordlabel.com, this provides us with 10 available slots per page. Copy (CMD+C) and Group (CMD+G) the complete business card graphic and Paste (CMD+V) into the PDF document.
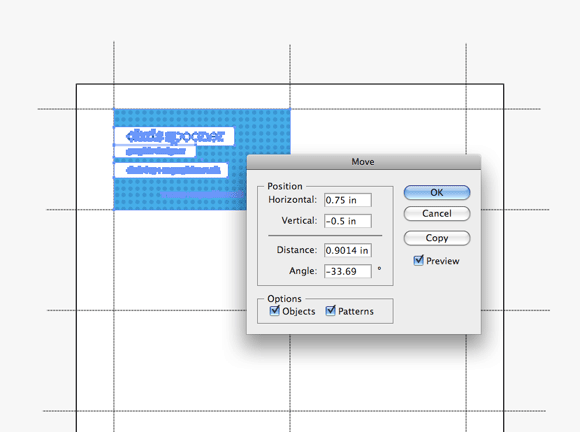
Use the Align Palette to line the card artwork to the top left edges of the layout. Then press ENTER to open up the Move options, enter 0.75inches and 0.5inches to move the first card instance into position exactly on the template.
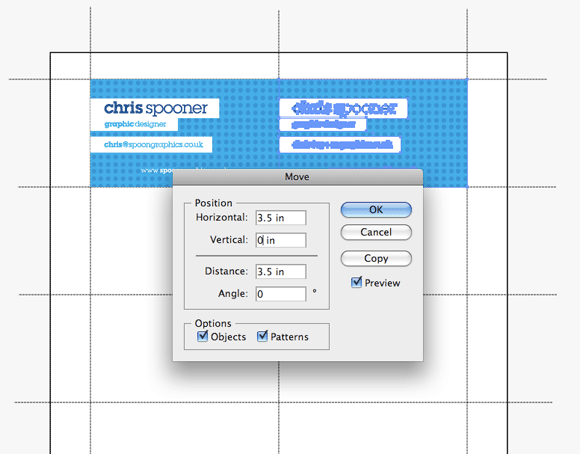
Press ENTER again to bring up the Move options, this time enter 3.5inches horizontally and press the Copy button. This duplicates the card and moves it into position on the second slot.
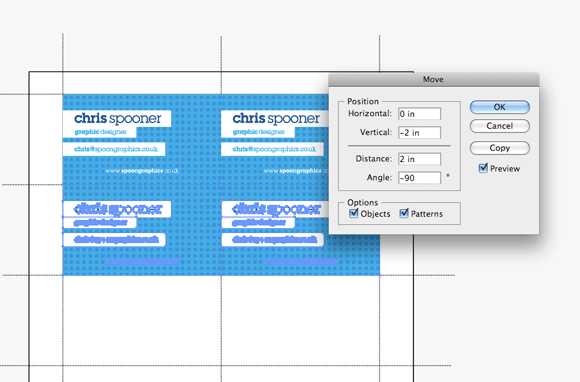
With both sets of artwork selection, press ENTER once again to bring up the Move options. This time enter -2inches in the vertical direction to copy another two cards onto the next row.
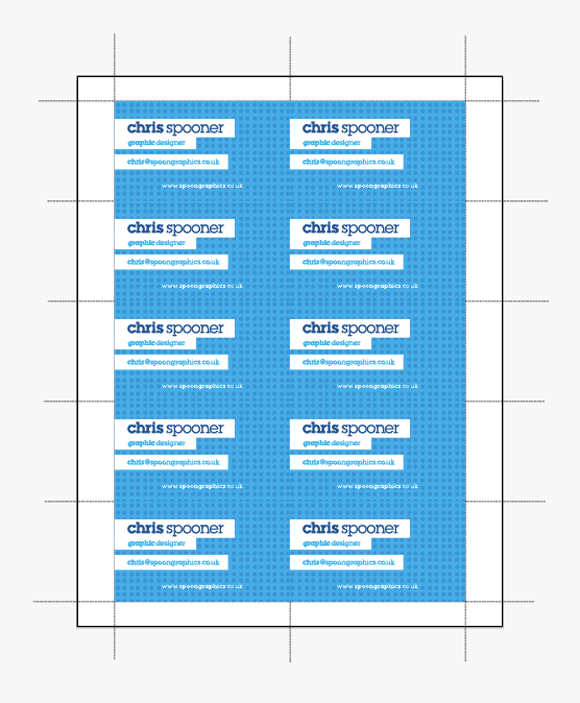
Complete the process a few more times until the template is completely full. The PDF can then be saved ready for sending for print. Select the number of pages you desire from the website options and your freshly baked business cards will be with you in no time!
by Chris Spooner of spoongraphics.co.uk

Cool…hmm…shouldnt there be bleed?
One can allways check thier printer setting and change to “print to edge”
Not all printers have this option but a lot do..
Good stuff!!