Adding Graphics to Your Labels
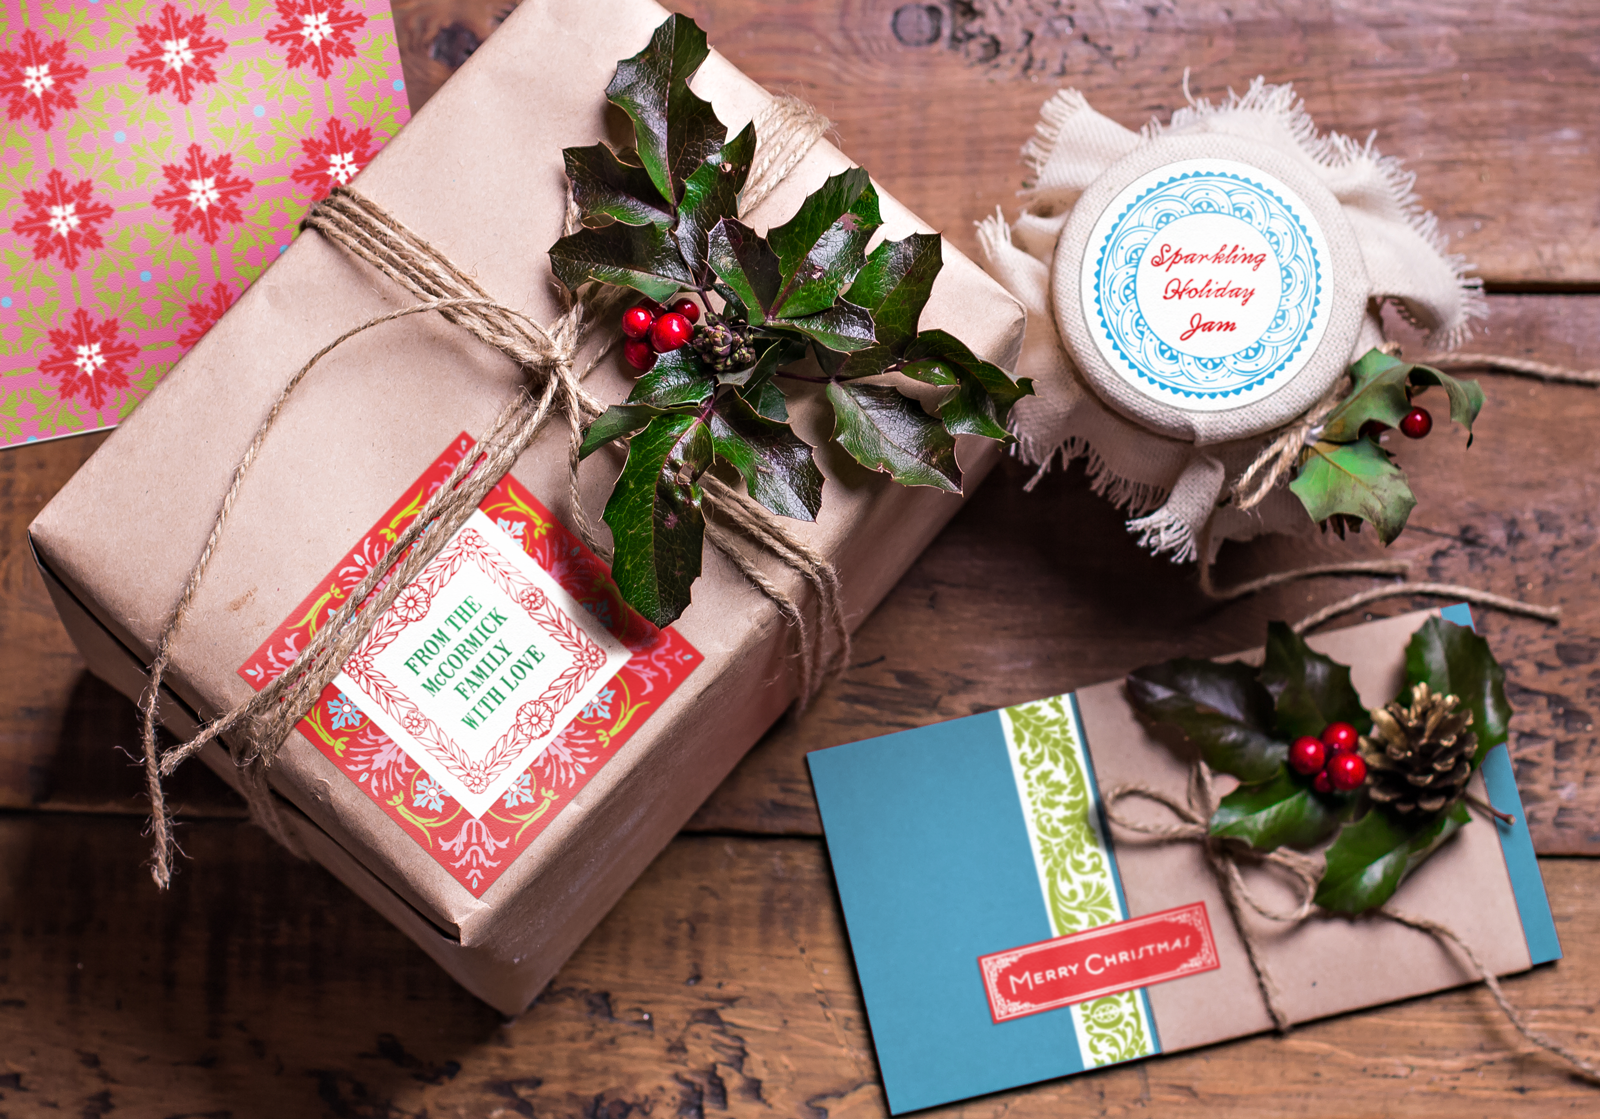
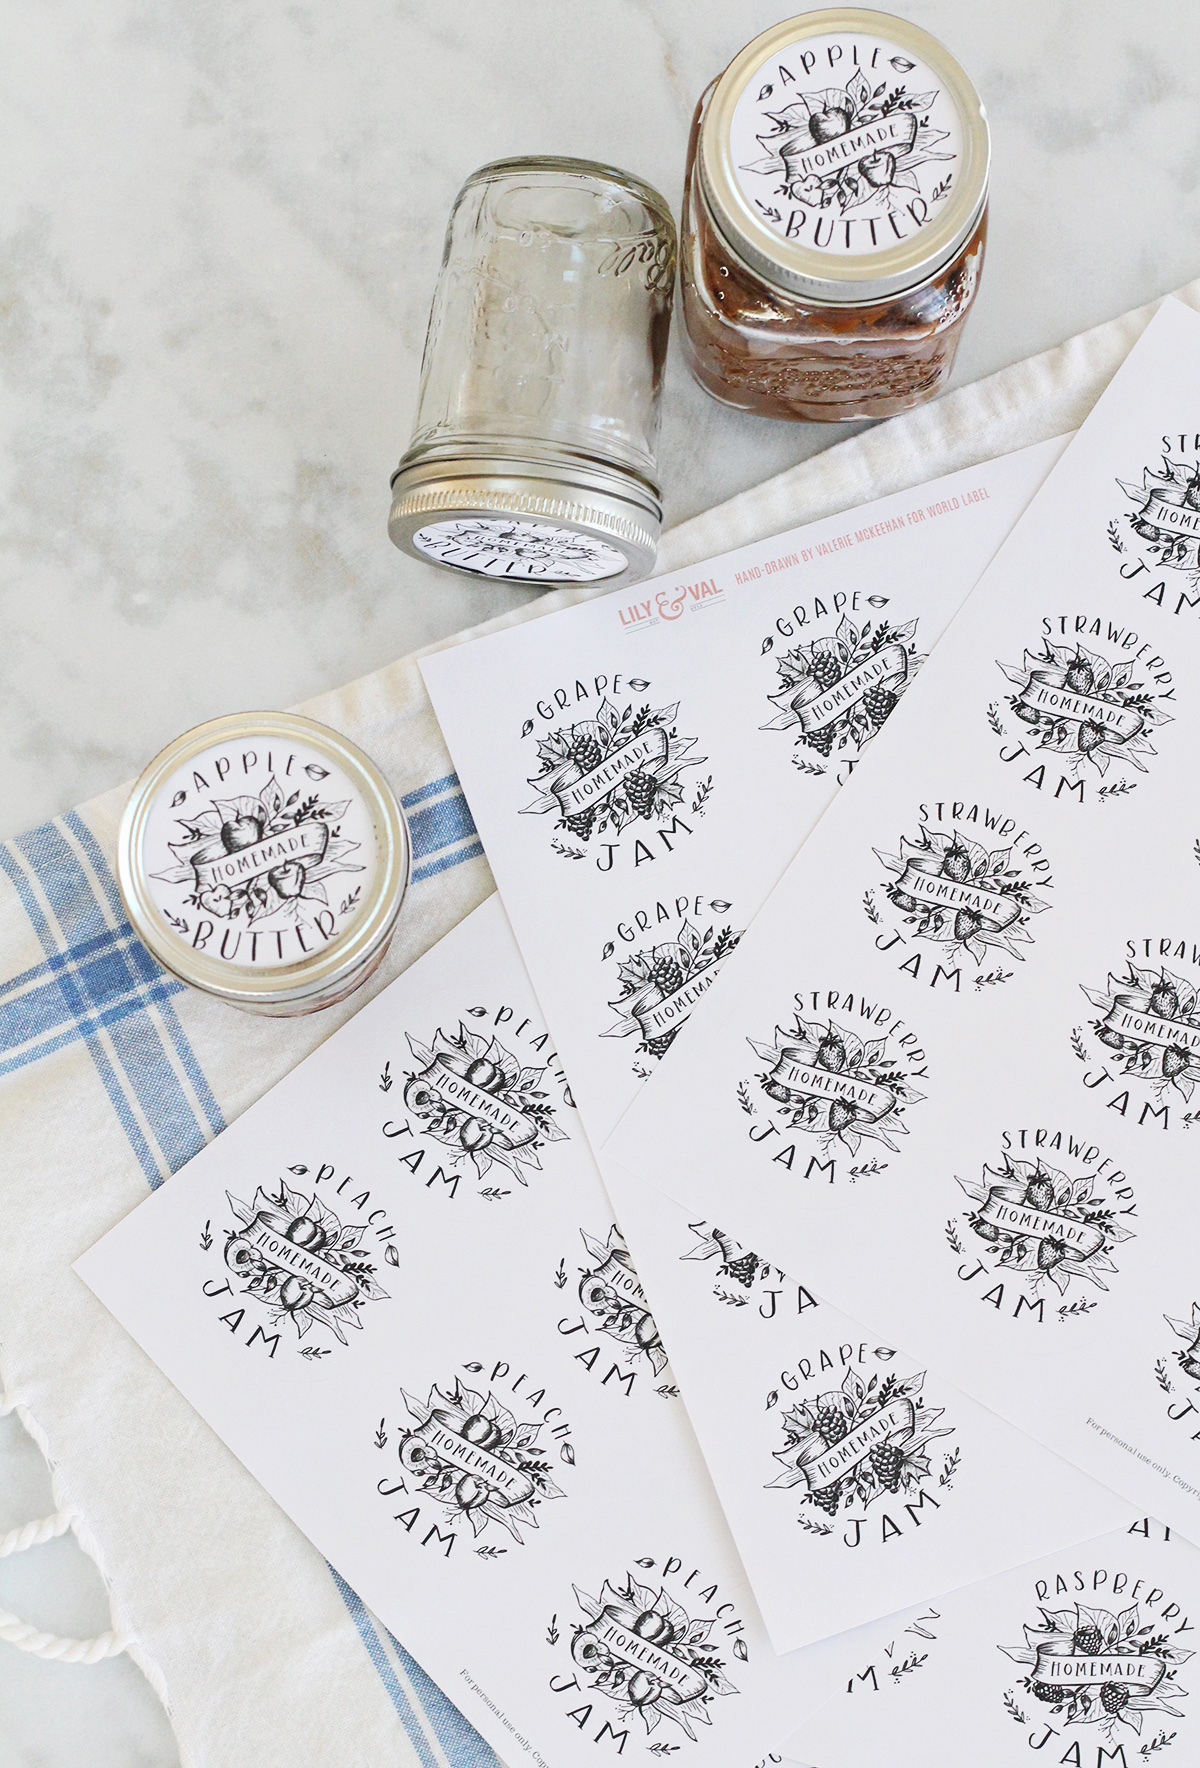
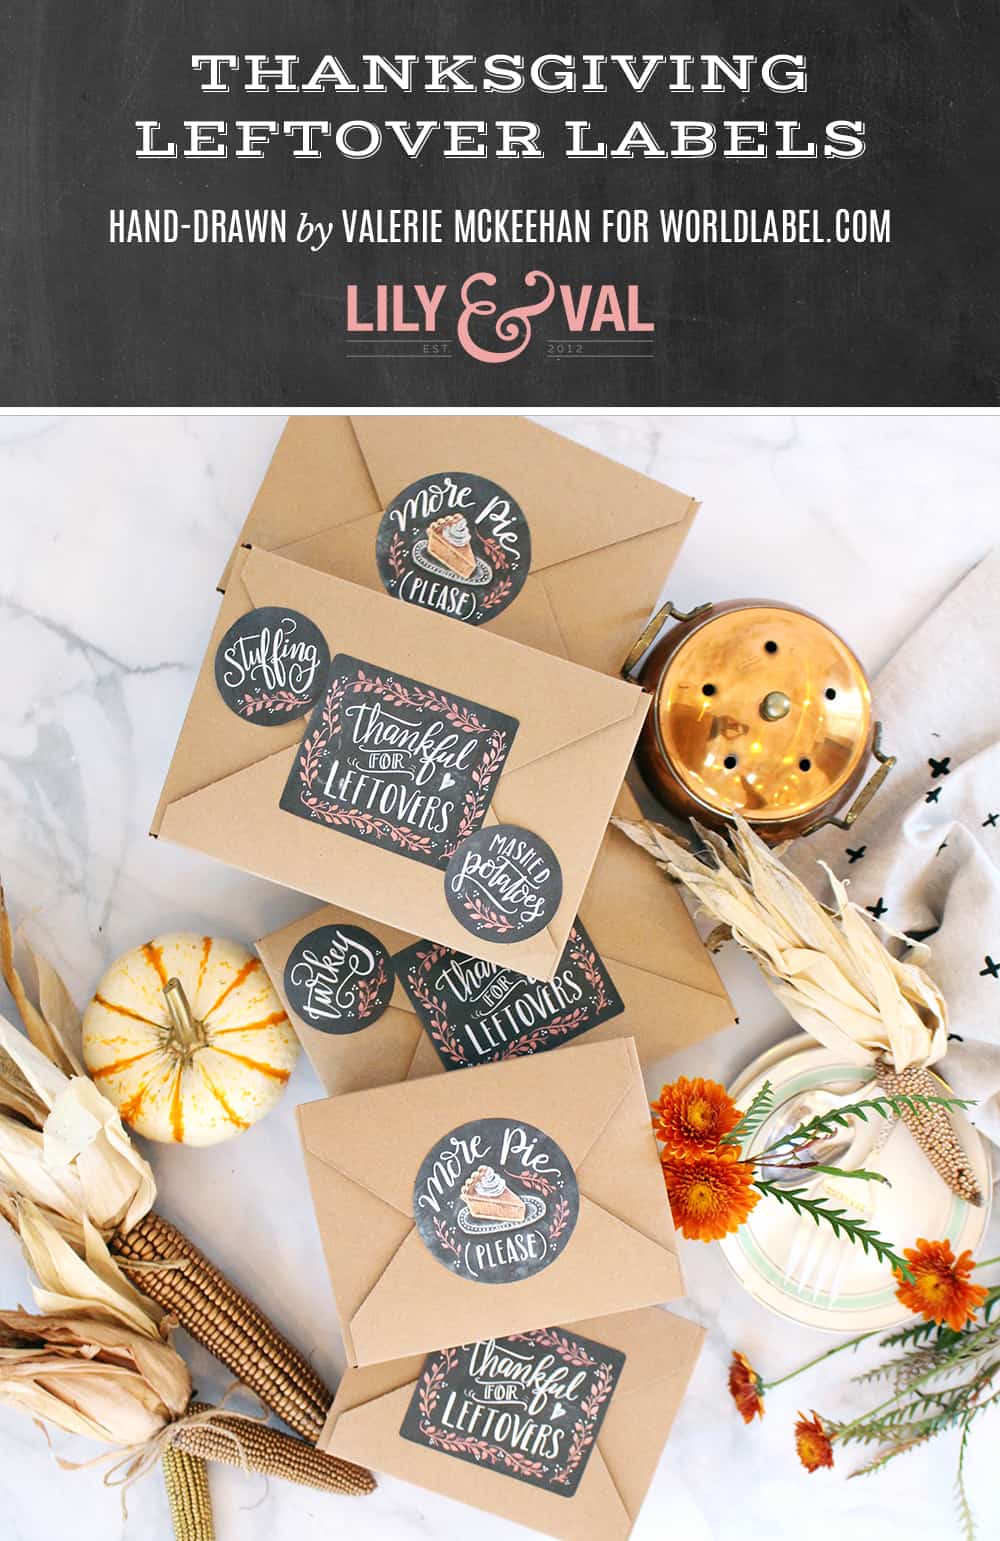
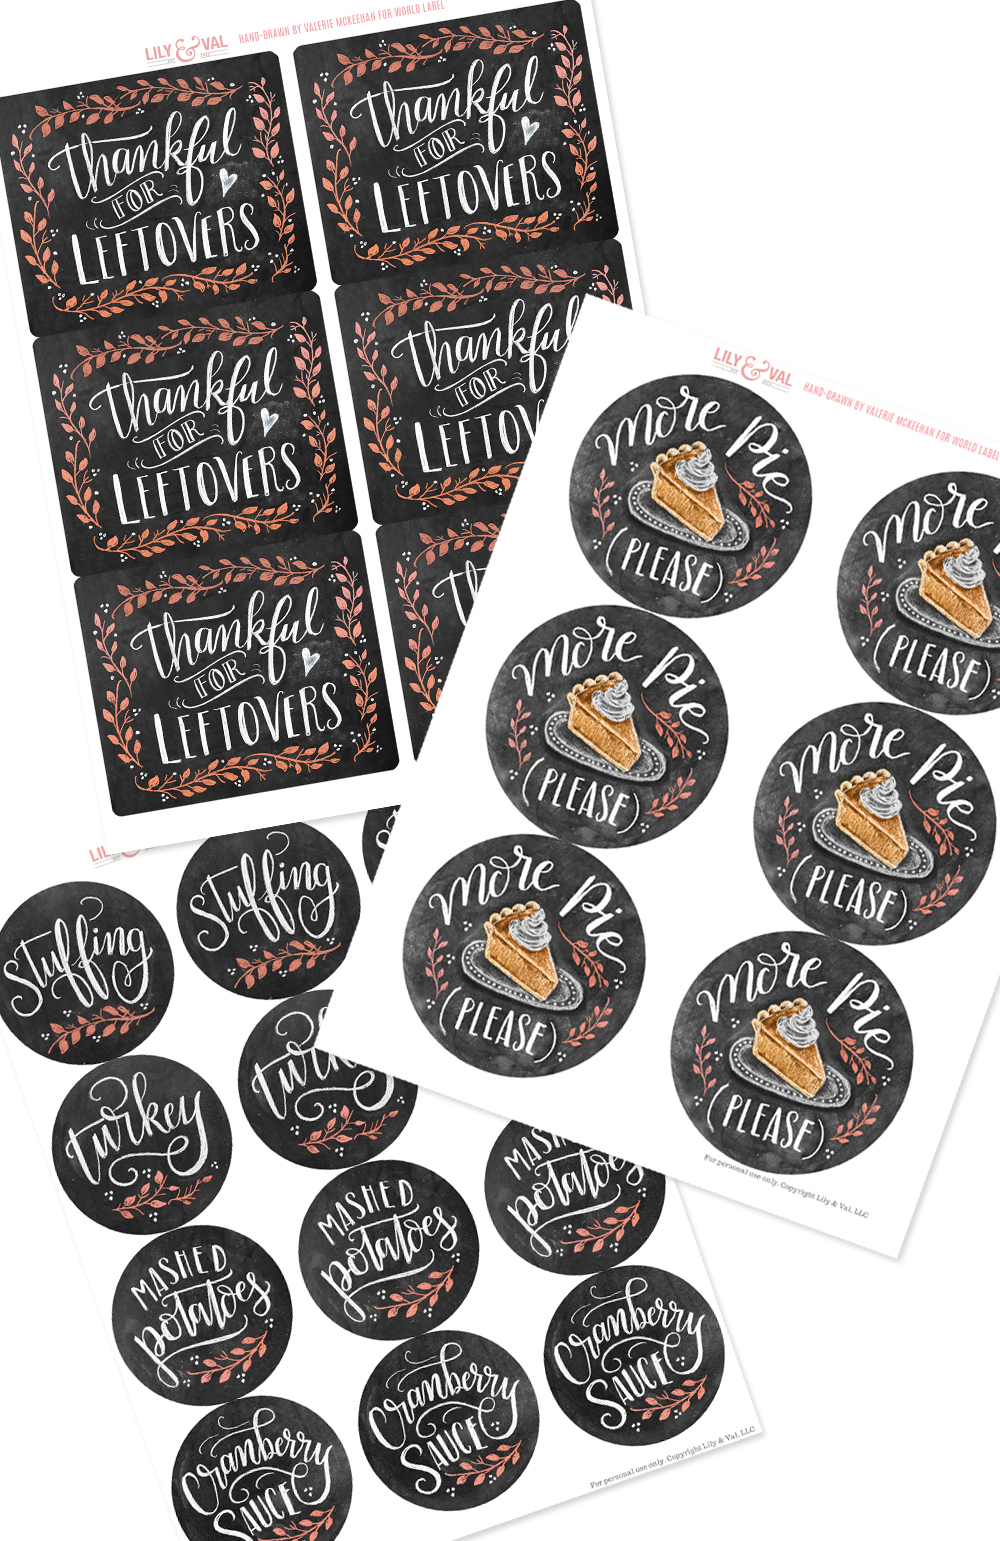
When people think of labels, the first thing that comes to mind is lines of text like addresses or tab markers. But these are just the simplest uses for labels. Photos, greeting cards, business cards, inserts for CD jewel cases — all of these can be created with a color printer and a package of labels. And with thermal transfer technologies, the possibilities expand to include everything from printed T-shirts to buttons for political campaigns and causes. All of these and more can be created using LibreOffice to create your own graphics.
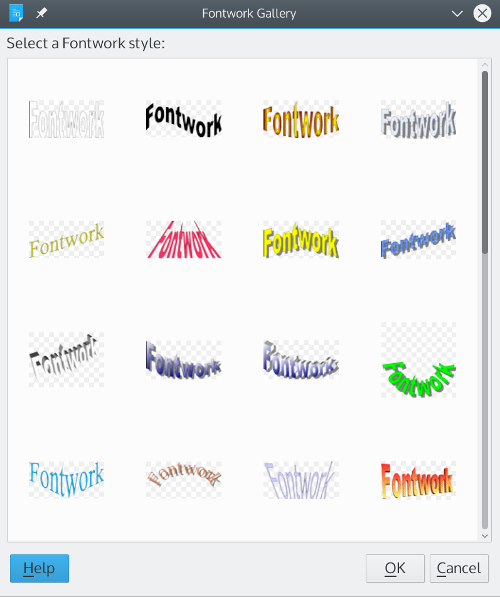
LibreOffice is a complete office suite that is free for the download on Linux, MacOS, and Windows. You can create designs to add to any label in LibreOffice Draw application. You can edit images in LibreOffice’s Draw application, or create your own using Draw’s “primitives” — basic shapes ranging from circles and squares to stars and crosses. Another useful tool is Insert| Fontworks, in which you can arrange text in creative ways, substituting your letters for those in the templates:
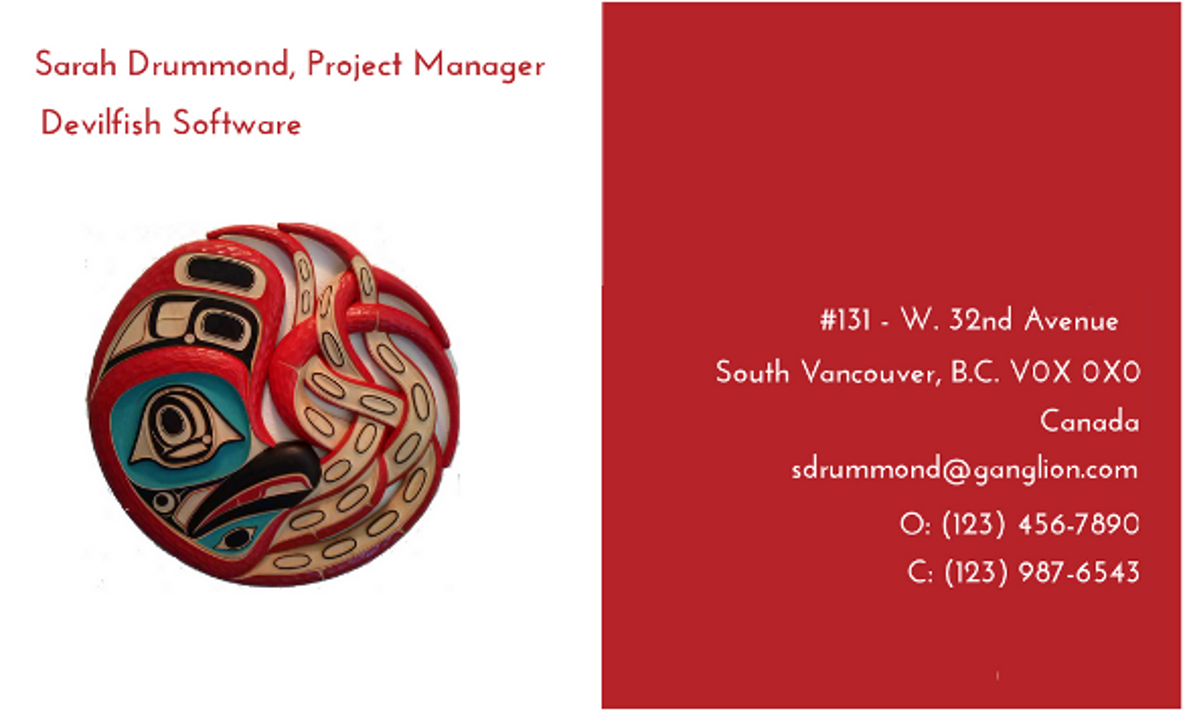
A painless way to learn how to design your images is Robin William’s The Non-Designer’s Design Book. Williams (No, not that one) suggests keeping in mind four basic principles for arranging different aspects of your design: alignment, contrast, proximity, and repetition. More than one of these principles can be used at the same time. For example, in the business card below, the lines with contact information are all right aligned, while the company logo and the contact information have contrasting backgrounds:
If your design skills are not up to the task, you can download royalty free images and free fonts from hundreds of Internet sites. Another useful tool to download are dingbat fonts — fonts in which typing a character prints an image instead of a letter or symbol. For example, here is a small image created with a dingbat that consists of whimsical, nursery rhyme characters use with Fontworks:

When you design the images for labels, keep in mind the size of the labels. While it is easier to design at a much larger size than the label itself will use, if you have to shrink down an image, it is going to lose much of the detail. In addition, too much color could reduce the image to a few blobs of color. You should always experiment, but when working with smaller labels, think in terms of simple designs and a few bold colors.
Similarly, remember the background on which the image will be displayed — either its own, or the color of the label. The basic rule for legibility is light colors on a dark background, and dark colors on a background. Most of the time, a background of many different colors will be confusing.

Preparing the Label Sheet
In LibreOffice, a label sheet is created by producing a file for the Writer application with outlines that are equal to the dimension of the label. If your label is a thermal transfer or an unusual size, you will need to measure the size of the label carefully, and then select File | New | Writer Document. Set the page to the same size as the label sheet using Insert | Page. Then add Insert | Frame | Frame and set the frame so that it is the same size as your label(s), and positioned in the same way on the page.
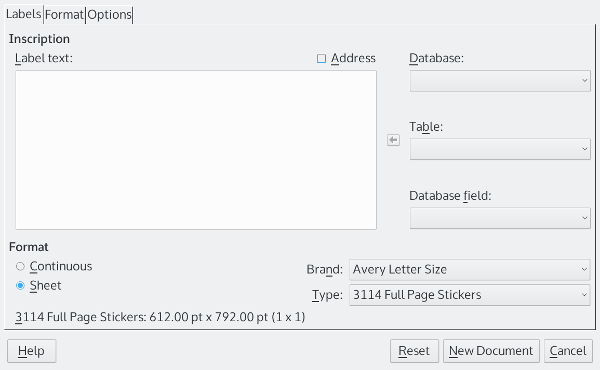
With any luck, LibreOffice may support the manufacturer and type of label you are using. To check, To start preparing labels, start LibreOffice’s Writer word processor and select File | New | Labels. From this window, you can select the label type and how it is fed into your printer. You can also enter any text for your labels, either manual in the empty pane provided, or else from a database (check the online help for how to create and connect to a database.) You do not need to add text, and images will have to be added later, when the label sheet is prepared.
If your label sheet is not supported, you can set Writer to use it on the Options page, where you can enter the size of each label (if each page has more than one) and the spaces between the labels. You can also create a custom label sheet manually from an empty Writer document by measuring the label sheet and by using Insert | Frame | Frame and setting frames so that each the same size as your label(s), and positioned in the same way on the page. Probably, too, you will want to select the frame and right-click on it to make the borders of each frame invisible when you print.
The last step in preparing the label is to select Synchronize contents on the window’s Option tag. This feature sets the resulting file you create so that all changes to the first label on a page can be duplicated on the other labels with a single click.
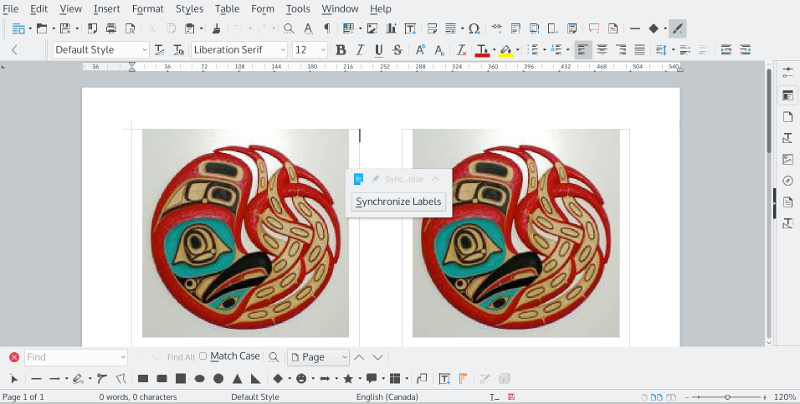
When you are ready, click the New Document button. Writer will open a new file, showing frames for each label on the sheet and a floating Synchronize Contents button. This button is especially useful for adding images.
Adding Images to Your Labels
If your label is big enough, you can create your image using the Draw toolbar in the file created for printing by LibreOffice. Even then, though, you may find using Draw easier.
If you are using Draw, your last step should be to select all the separate elements by running the mouse cursor around all of them so that their frames and selective points show. By selecting Shape | Group, you can move and resize all the elements as if they were only one.
Then click on the grouped elements and select Position and Size from the right-click menu to reduce the size of the image so that it fits on the label. This step is necessary because if the image is too large for the label, adjusting it can be difficult. When you are ready, you copy and paste the image to the first label on the page. Clicking Synchronize Contents will replicate the first label on all the other labels. You are then ready to print.
A Matter of Practice
Adding images to a label may seem awkward at first, but it is really a matter of practice. After a few tries, you will start to see that LibreOffice’s tools are actually designed to save you effort and frustration. Once you are comfortable with the steps, you will find that, when you go beyond text, labels actually have more possibilities than you originally suspected.
By Bruce Byfield, author of Designing with LibreOffice.org – visit and download the book here

 Labelsontime now manufactures and offers their customers an additional 245 Thermal label products and sizes in roll and fan-folded label configurations in either paper direct thermal printable labels or for
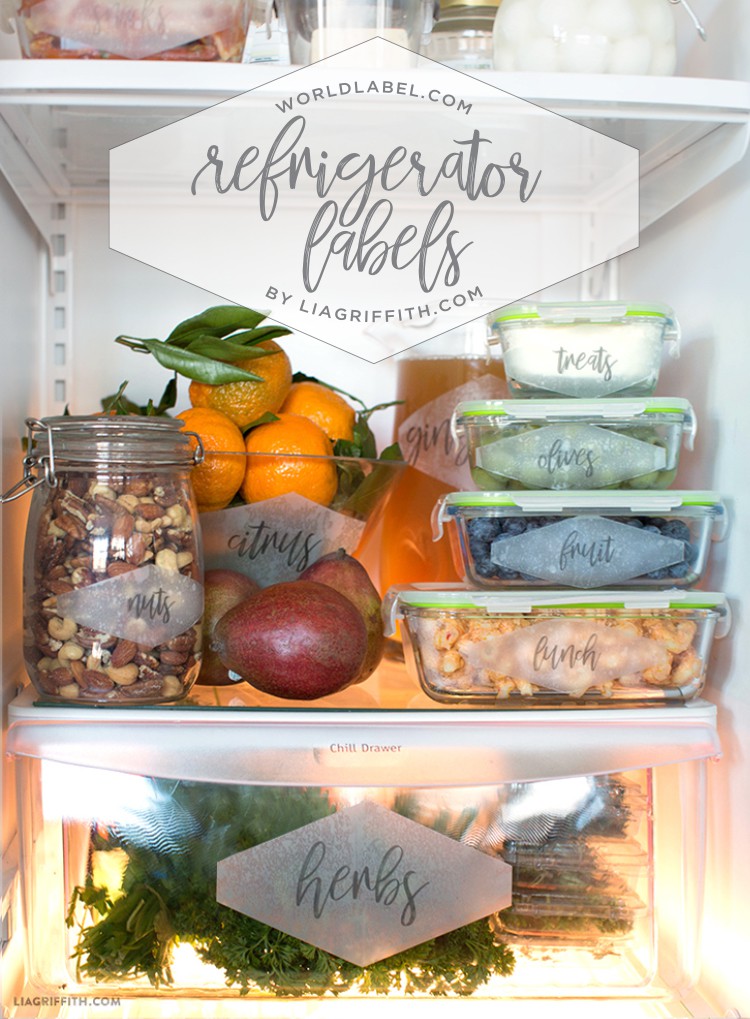
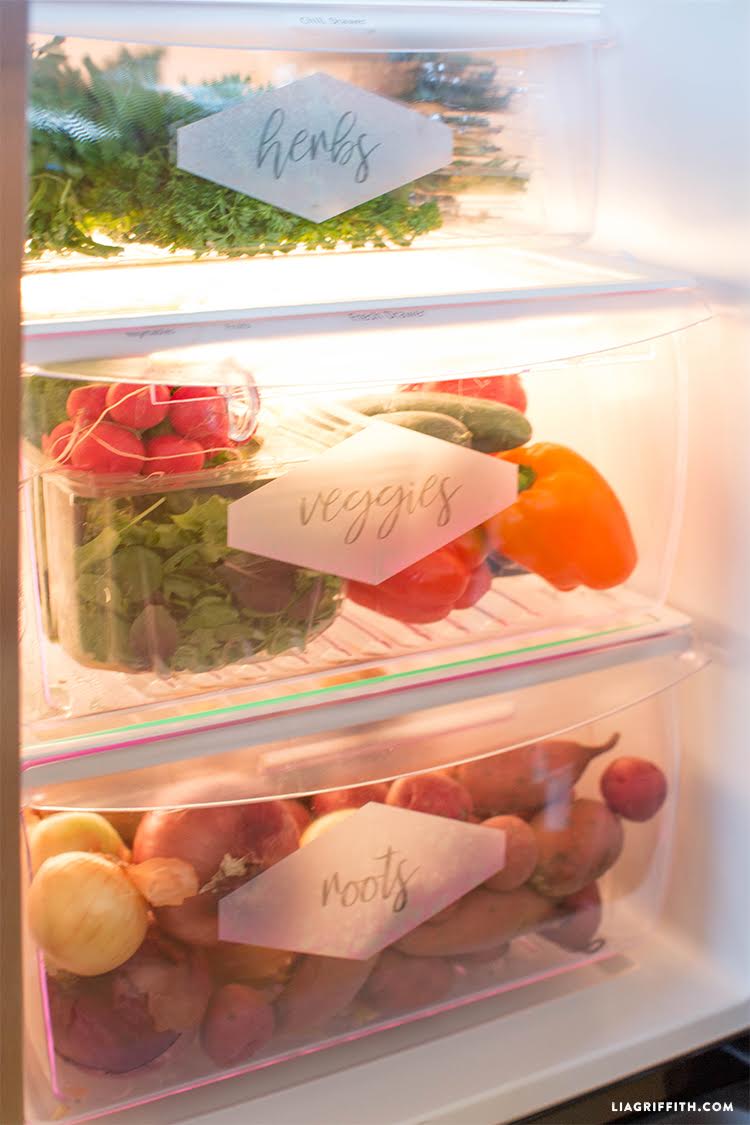
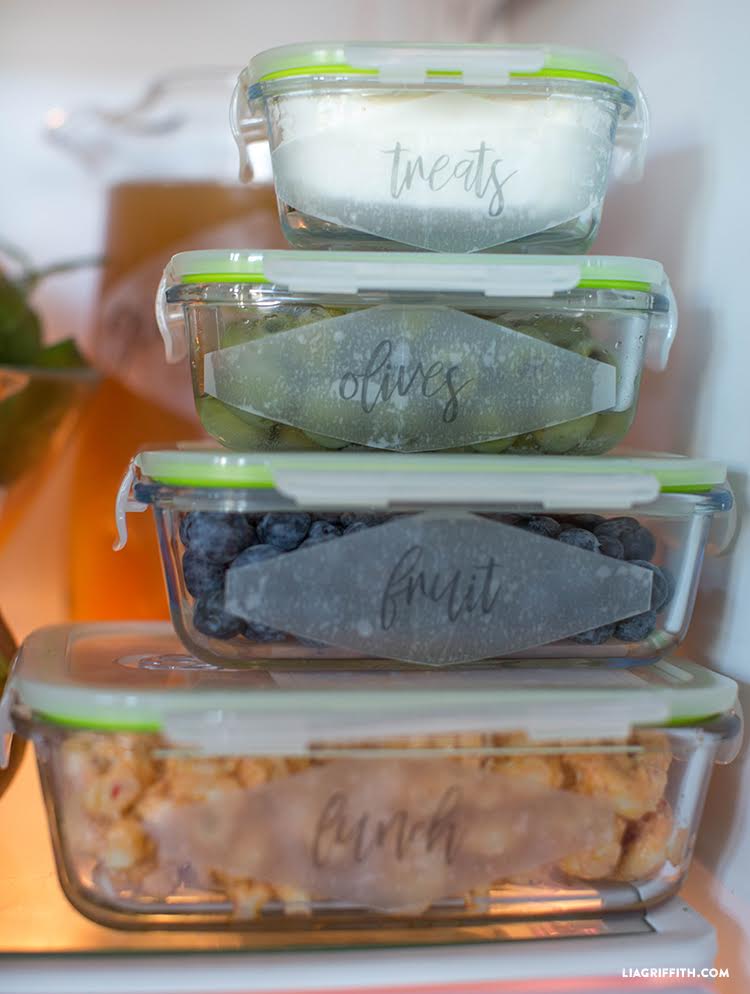

 Also included are white freezer storage labels to help you keep track of when and what is in the freezer.